I like working with my hands. To tinker. Perhaps it can be attributed to a primal instinct to build and create. Or maybe because I had quite an elaborate set of Legos growing up. Or maybe it's a trait I get from my mom, the most inspirational tinkerer I know. While it's sometimes a fun trait, it often times leads me to break things, or to make things even more broken than they already are. But luckily, instead of breaking the nice things that I have, I found a nice woodworking project to keep my hands and mind busy during the winter, as I wait for sunnier days and drier weather.
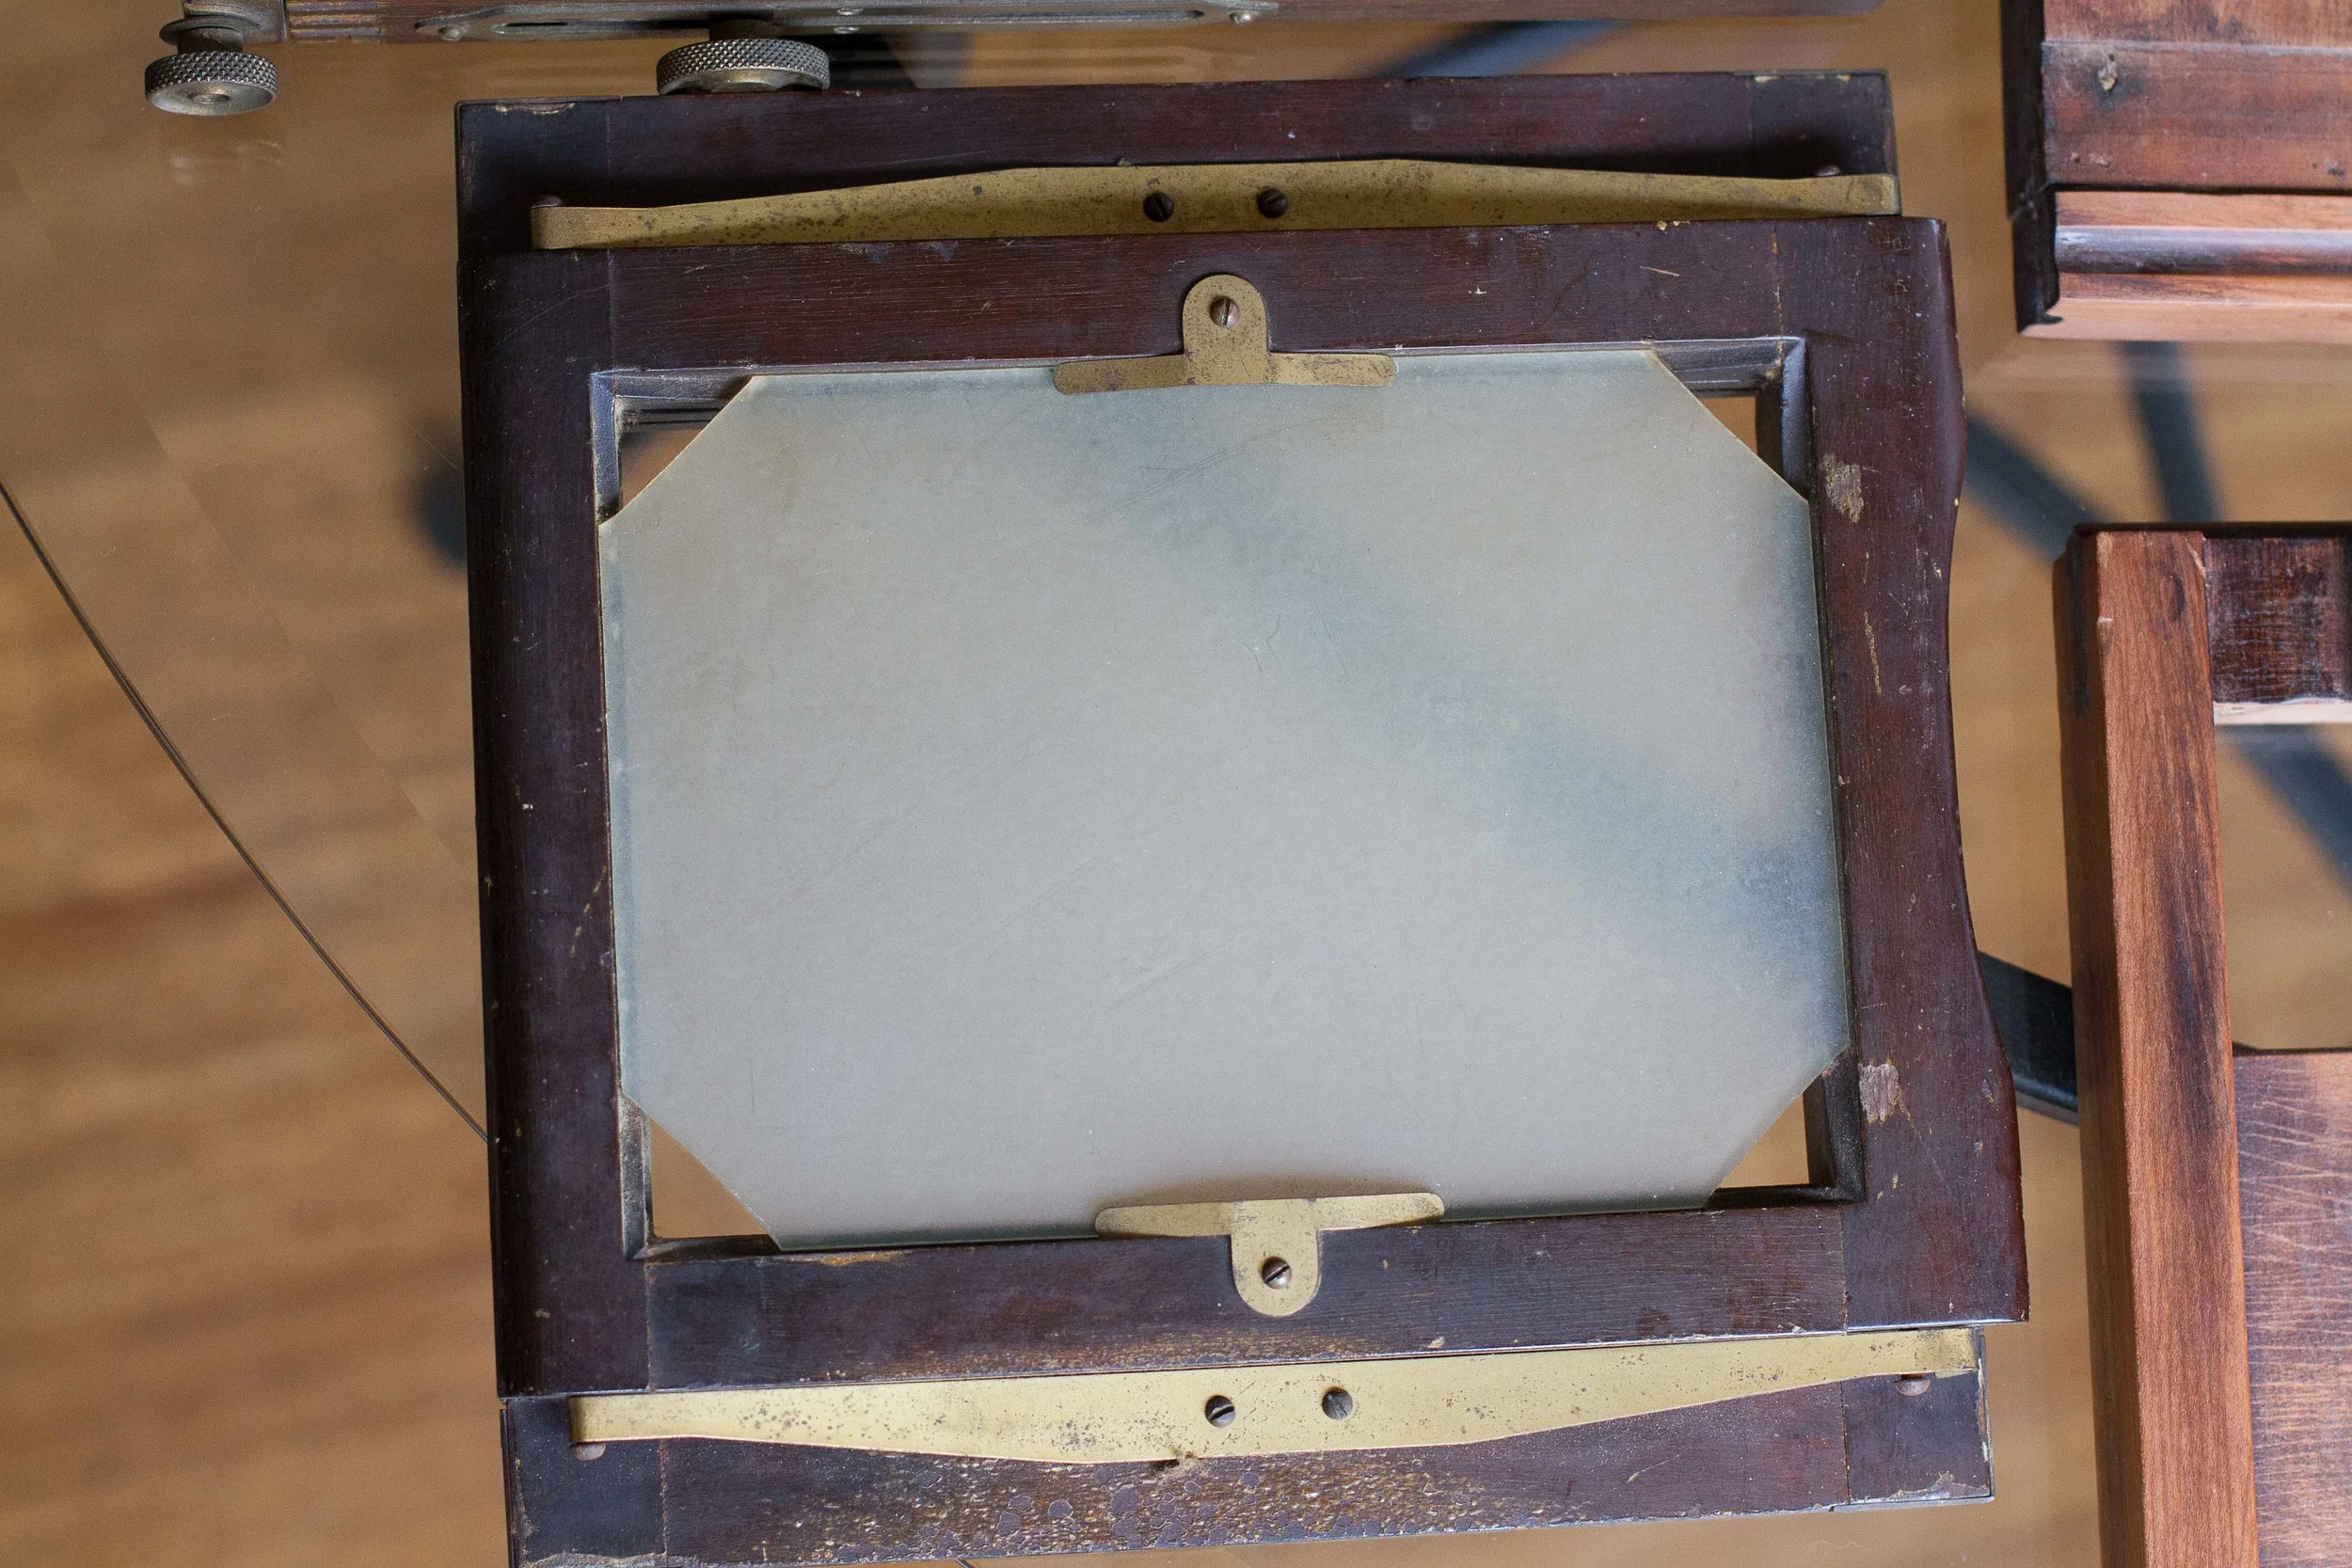
Ever since purchasing the heavy and bulky Linhof Technika 4x5, I have wanted to purchase a lighter wooden field camera. But alas, they are out of my current budget. One day, while pursing Craigslist, I stumbled upon a wooden 5x7 camera that was already partially disassembled, ready for refinishing. As it turns out, the seller was Giles, from whom I have previously purchased my trusty Nikon FM2 from (please check out Giles's website and his awesome tintype work at www.gilesclement.com/). For a easy $60, I picked up his Ansco Agfa Universal 5x7 view camera. He had already done probably 65% of the disassembly, and stripped the old finish and varnish from two base pieces. In hindsight, I actually just bought a big box of wood and brass, along with a promise that it will form a camera. The Ansco Agfa Universal were first manufactured between 1926 and 1935 (www.piercevaubel.com/cam/scovill/agfa.htm). So who could resist such a historical relic of photography?! The approach I decided to take was to strip down the rest of the pieces to the bare wood, apply a new finish, polish the brass, and put it all back together.
Disassembling
The first step was to disassemble the remaining pieces. To make re-assembling easier, all parts were taken off in groups and bagged/labeled individually. This way, I would know which pieces belong where. As I took out rusty screws and old brass, my entire dining table was covered in a thin layer of mysterious brown dust, which probably had a good deal of asbestos and perhaps traces of the polio virus. I then laid out all the pieces according to how they are assembled and took pictures of each part. These photos will hopefully serve as my blue print for putting it all back together. Here are a couple of photos of the process:
Stripping
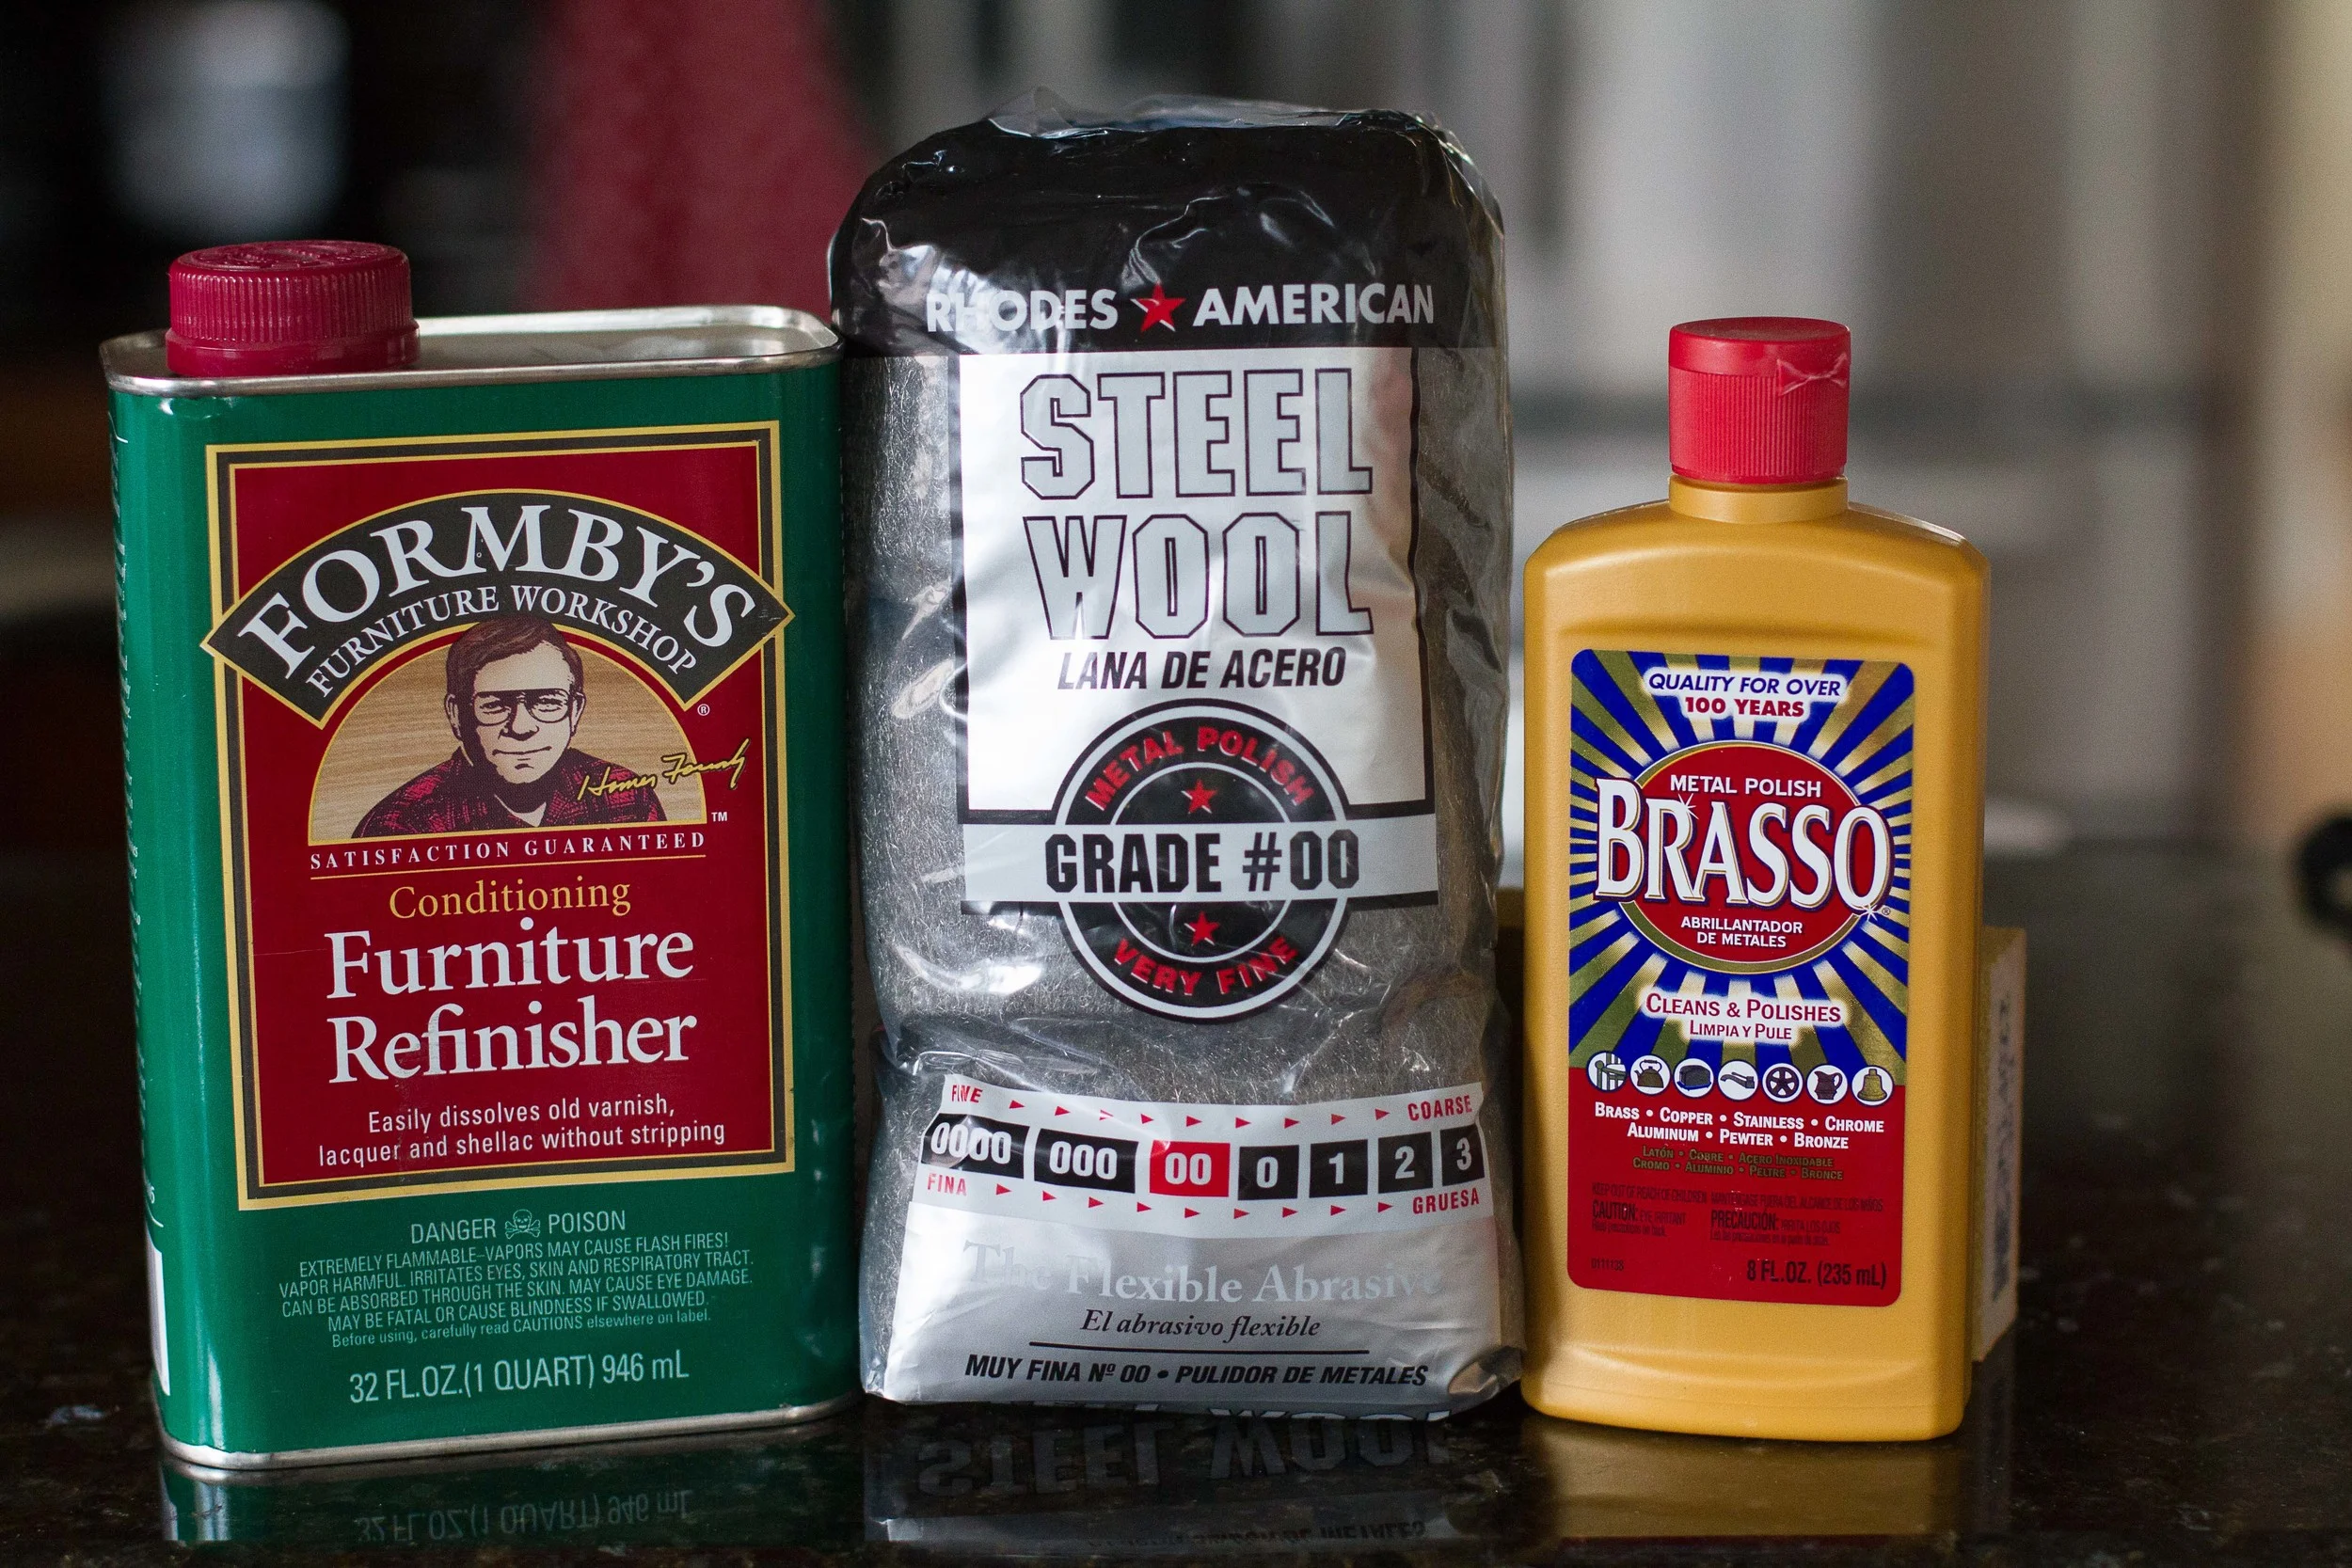
The original finish was this dark varnish underneath a layer of shellac, which was in pretty bad shape. Several pieces had finish that was cracking or partially dissolved (see first picture). I decided to use Formby's Furniture Refinisher, which is supposed to take off the top layer of shellac as well as the varnish. In reality, the Formby's easily took off the shellac, but did nothing to the varnish. Stripping the top layer did make the sanding process shorter. My lessons learned from this step is to do this in a very well-ventilated area, if not outside. I did this in my bathroom, thinking the combination of the bathroom fan and the open window would suffice - It did not. Acrid fumes hung low in my bathroom/bedroom/entire upstairs of my house. Many brain cells were lost.
I would like to apologize for anyone who interacted with me when I came to the climbing gym, high off of furniture refinisher. I probably was not very coherent.
Its also worthwhile to note that the Formby's melts shellac/lacquer. Contrary to the instructions, the easiest method is to pour it on, use old rags to rub in, then use the same rag to mop up the sticky residue.
Sanding
Next came the lion's share of the work - Sanding. Sanding this camera was a pain. Getting past the varnish all the way down to the bare wood (and doing so evenly) is a very meticulous endeavor. The camera pieces have many small, tight corners which means you have to really slow down and focus on the spots that broad sanding strokes miss. Like most sanding methods, I started with 100 grit sandpaper to get to bare wood, and gradually worked through 150 and 220 grits until it got to an ultra smooth finish. I then used Mineral Spirits to clean up all the excess saw dust. Sanding off the old finish revealed a beautiful wood base, of what I believe is cherry.
Polishing
This camera has about 3 or 4 pounds of brass fittings. This includes knobs for movements and focus, plates, rails, screws, etc. I used good old Brasso, with the help of extra fine (00) steel wool, to take the old tarnish off and to give the brass a new luster. I also recommend this step be undertaken in a well-ventilated area, as Brasso is strong scented. Also, be sure to wear some sort of safety glasses when working with steel wool. A wool fiber flaked off and got lodged under my eyelid while i was polishing the brass bits one night, causing a very uncomfortable night and a trip to the optometrist the following day. Brasso, along with some elbow grease, does do some amazing work though.
Now that everything is sanded and the brass is nice and shiny, I am currently in the process of applying a new finish. This involves applying coat after coat of finish, polishing with super fine (000) steel wool between coats. Stay tuned for Part 2 of this post, where I will talk about applying the new finish, reassembling, installing the bellows, and the finished product!
Pictures on this post were produced with a Canon 7D.


